Saturday, August 23

More Designer Cards

Adrianne Fane-Hervey is one of my Guest Designers this month and she has created this beautiful boxed set of cards using the new Bullion Roses Digital Stamp Set.  The decorated box contains six fabulous cards in various colours and for a variety of occasions.
 
 
She also created this absolutely stunning parchment card.


Friday, August 22

New Release: Bullion Roses Set

Embroidery is another craft that I really enjoy doing, although I have to admit that I haven't taken up an embroidery needle in a very long time.  These days I just settle for drawing and colouring these sweet little roses to use on my projects, which is also great fun!


(Guest Designer)

Thursday, August 21

Seahorse Card

I have another seahorse card to share with you today, it's the second I've made from a cute digi stamp set by Jill Jacobsen.  I don't have a lot of aquatic themed embellishments or tools... actually I don't have any at all, so I was rather pleased with myself for creating "bubbles" using little blobs of Glossy Accents and "coral" with a branch die and some little die cut flowers.
 

Sunday, August 17

Frog and Oleander Card

My lovely friend Penny has been inspiring me to bring out my water-based mediums and some brushes and have a play with some of my stamps.  I love working with water colours - with just a few strokes of the brush you can achieve a seemingly endless variation of shade and vibrancy.  It's probably one of the most forgiving colouring mediums and a wonderful way to relax and allow the water and colour do the work for you.


Friday, August 15

New Release: Dog Tales Set

Here's a set for all the dog lovers out there!
 

Shirley's Card

Kati's Card

Carla's Card

Annie's Card

Three cards by Adrianne
(Guest Designer)

Peggy's Card

Tuesday, August 12

Tutorial - Pop-Up Book Card


Pop-Up Book Cards are display cards that are best viewed when standing open.  The inner portion of the card pops up to resemble the pages of an open book, then folds down again when the card is closed.


1.  Start with two 6" x 12" pieces of cardstock.  (I used a piece of 12" x 12" double-sided kraft cardstock, cut it up the middle and turned one piece over.)

2.  Score one of the pieces at 6" and fold in half.  This will form the outside of your card.

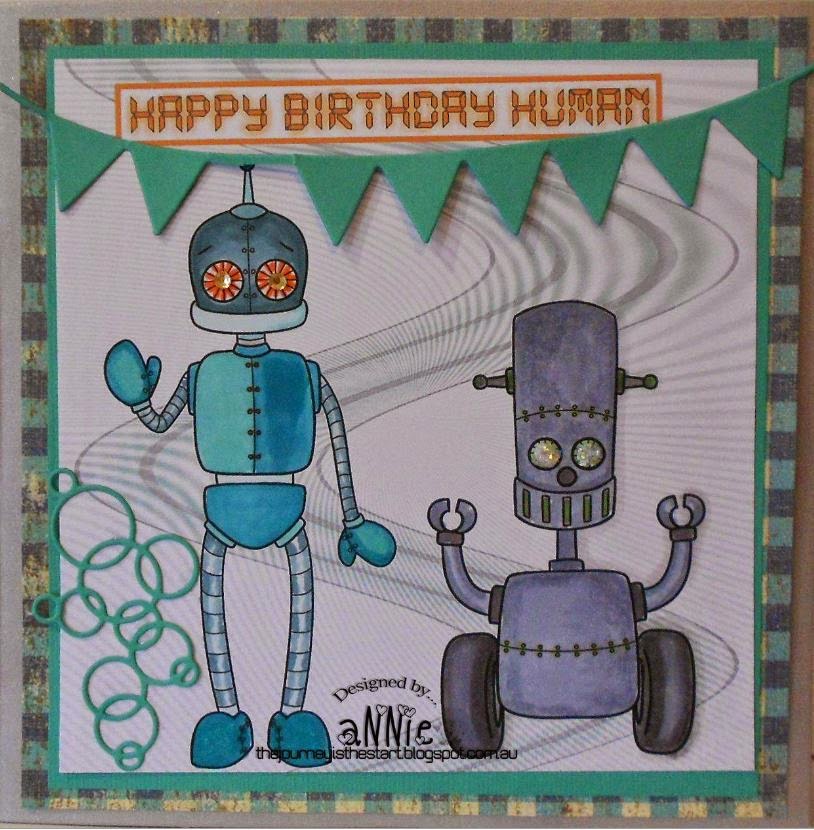
3.  Decorate the front as desired then set aside.  (I used patterned papers, ribbon, stamps, a border punch, die cuts and a water coloured image for the front of my card.)


INNER TEMPLATE

4.  Using the template above, cut and score your second piece of cardstock.  (Note: the dashed lines are score lines and the solid lines are cut lines)

5.  Fold along the score lines as shown in the pictures below.  Make sure you press each fold firmly to get a nice sharp crease.
FROM ABOVE

6.  Decorate the cardstock as desired.  (I used patterned papers, die cuts and stamps.)

7.  Turn the piece of cardstock over and add double sided adhesive as shown in the photo below.  Do not add adhesive to the centre section or over any of the creases.

8.  Working with one side at a time, secure the inside section of the card to the outside of the card matching the top, bottom and side edges.  Repeat on the other side and your card is done!

FINISHED CARD

INSIDE
 

Stamps:

Sunday, August 10

Feather Card

It's been a while since I dragged out my embossing powders to have a little play, so I thought it might be time.  I used the single feather stamp from my Bird Song Set and embossed it once in white and again in black on a piece of water colour paper.  I spritzed the paper with some water and then dropped a few puddles of blue ink here and there for a lovely watery background.
 

Friday, August 8

New Release: Itty Bitty Botz Set

When it comes to gadgets and technology I'm rather the odd one out in my house.  I usually need help to operate the TV remote control or to figure out how to do anything technical with the computer, and if there's a need to hook up anything that takes more than one cord... well, I'm not the one you call.  Fortunately I have a gaggle of gadget savvy kids and a talented techie husband to save me from electronic meltdown.  Thanks guys, this one's for you!


(Guest Designer)

(Guest Designer)

Wednesday, August 6

Design Team Call

I'm looking for a talented team of paper crafters to help promote Beccy's Place digital designs and provide inspiration and ideas using my images.
 
Duration
The position runs for six months from the beginning of September 2014 to the end of February 2015.  (Work will be showcased from the beginning of October 2014 to the end of March 2015)
 
Requirements
Successful applicants will be required to produce at least one card or paper craft project per digital release.  In practice, this means anywhere from one to five cards per month.
High quality photographs of all design work must be emailed by the 28th of each month unless otherwise specified.
Successful applicants must have a personal blog on which to display design team work.
 
DT Benefits
You will receive all of the images released during the period you are on the team.  They are yours to keep and use subject to all the normal copyright conditions.
A link to your blog will be displayed on this site for the duration of your time on the team.
Your cards and projects will be displayed to a wide audience of other paper artists, including those people on the email subscription list.  They will appear on this blog and in my digital stamp store.
 
How To Apply
Please email me at beccymuir@yahoo.com to indicate your interest and include a link to your blog that features your current work.
 
Dates
Applications will be taken from today until Friday the 29th of August (Australian Eastern Standard Time).  The new team will be finalised on Sunday the 31st of August.

Tuesday, August 5

Die Cut Tree

I made this simple card using some fabulous Impression Obsession dies that I purchased from the last craft show in Brisbane.  Thankfully the flower die cuts out 30 - 40 flowers at once so you don't have to crank them out one by one, which would cause some serious frustration!